Unlock Oat Milk's Potential: Dairy-Free, Delicious & Easy DIY
Oat milk has rapidly risen to prominence as a beloved plant-based milk alternative, captivating taste buds and fulfilling diverse dietary needs. Its creamy texture, neutral yet subtly sweet flavor, and remarkable versatility make it an ideal substitute for dairy in everything from your morning coffee to your favorite baked goods. For those navigating intolerances to soy, gluten, dairy, or nuts, oat milk often provides a safe and delicious haven. While readily available in supermarkets, store-bought oat milk can quickly add up in cost. The good news? Learning
how to make oat milk at home is surprisingly simple, incredibly cost-effective, and offers unparalleled freshness and control over your ingredients.
Imagine transforming a handful of affordable oats into a rich, creamy milk that rivals commercial versions, all from the comfort of your kitchen. This guide will walk you through the entire process, revealing the secrets to perfect homemade oat milk and empowering you to embrace this wholesome, dairy-free delight.
Why Embrace Homemade Oat Milk? The Benefits Beyond the Carton
Choosing to make your own oat milk isn't just a fun kitchen project; it's a smart lifestyle choice packed with advantages:
*
Exceptional Cost Savings: This is arguably the biggest draw. A single cup of rolled oats, costing mere pennies, yields approximately two cups of fresh oat milk. Compare this to the price of a store-bought carton, and the savings become substantial, especially for regular consumers. Over time, making your own can significantly reduce your grocery budget.
*
Ingredient Control & Purity: When you craft your own oat milk, you dictate exactly what goes into it. This means no unnecessary thickeners, gums, preservatives, or added sugars often found in commercial varieties. You get pure, wholesome goodness, perfect for those with specific dietary requirements or who prefer to avoid artificial additives.
*
Allergy and Intolerance Friendly: Oats are naturally free from many common allergens. For individuals with celiac disease or gluten sensitivity, opting for certified gluten-free rolled oats ensures your homemade milk is completely safe. It's an excellent choice for anyone avoiding dairy, soy, or nuts.
*
Environmental Impact: Reduce your ecological footprint by cutting down on Tetra Pak cartons and other packaging waste. Reusable storage containers are all you need for your homemade batches.
*
Unbeatable Freshness and Flavor: Homemade oat milk offers a taste and creaminess that often surpasses its store-bought counterparts. You'll notice a brighter, more distinct oat flavor and a wonderfully smooth texture, enhancing your coffee, smoothies, and recipes.
While it's true that commercial oat milks are often fortified with vitamins like calcium and D, homemade oat milk still provides the inherent nutritional benefits of oats, including fiber and essential minerals, making it a valuable addition to a balanced diet.
Essential Tools for Your Oat Milk Journey
You don't need a professional chef's kitchen to master
how to make oat milk. A few basic items are all you require:
*
Blender: Any standard blender will get the job done. However, if you have a high-power model like a Vitamix or Blendtec, it will break down the oats more quickly and to a finer consistency, potentially leading to a smoother end product.
*
Straining Mechanism: This is perhaps the most critical component for achieving your desired texture.
*
Nut Milk Bags: While designed for plant milks, some can have weaves that are too loose, allowing too much oat sediment to pass through.
*
Fine-Mesh Sieve: Similar to nut milk bags, a sieve might not catch all the fine particles, resulting in a slightly grainier milk.
*
Woven Tea Towel or Clean T-Shirt: Many DIY oat milk enthusiasts swear by a clean, thin, woven tea towel or even an old (but clean!) cotton t-shirt. Their tighter weave is highly effective at filtering out the finest oat pulp, yielding an exceptionally smooth, sediment-free milk. *Pro Tip: Experiment with different materials to discover what works best for your preferred consistency.*
*
Medium-Sized Bowl: You'll need this for catching your strained milk. A bowl with a spout can make pouring the blended mixture into your strainer much easier.
*
Airtight Storage Container: Glass bottles with lids, such as old juice bottles or large Mason jars, are ideal. Ensure the lid is water-tight, as your oat milk will naturally separate in the fridge and require a good shake before each use.
For more in-depth advice on selecting the right equipment and refining your technique, check out our guide on
Mastering Homemade Oat Milk: Best Oats, Blending & Straining.
Choosing Your Oats & Flavorful Additions
The type of oats you select significantly impacts the final texture and taste of your homemade oat milk.
*
Rolled Oats (Old-Fashioned Oats): These are your gold standard for oat milk. They produce a wonderfully creamy texture without becoming overly slimy. Their minimal processing means they retain their structure well during blending.
*
Steel-Cut Oats: Avoid these for oat milk. Their robust, chewy nature makes them difficult to blend into a smooth consistency, and the resulting milk can be grainy.
*
Quick Oats (Instant Oats): While convenient for oatmeal, quick oats are too processed for homemade milk. They often result in an unpleasantly slimy texture, which is a common complaint for beginners.
*
Gluten-Free Oats: If you have gluten sensitivities or celiac disease, always opt for rolled oats explicitly labeled "gluten-free" to ensure cross-contamination hasn't occurred during processing.
Beyond the oats, a few optional additions can transform your basic oat milk into a gourmet delight:
*
Sweeteners: For a touch of natural sweetness, try blending in two pitted, roughly chopped dates with your oats and water. Alternatively, stir in a teaspoon of maple syrup, agave nectar, or a pinch of stevia after straining.
*
Flavor Enhancers: A teaspoon of vanilla extract adds a lovely aromatic note. For a chocolatey treat, blend in a tablespoon of unsweetened cocoa powder.
*
Richness Boost: A tiny amount (1/2 teaspoon) of coconut oil blended into the mixture can impart a richer, more luxurious mouthfeel, closer to that of commercial oat milks.
*
Pinch of Salt: A tiny dash of salt (e.g., a pinch for every 2 cups of finished milk) can enhance the natural sweetness and overall flavor.
Your Step-by-Step Guide: How to Make Oat Milk
Ready to master
how to make oat milk? This process is so straightforward, you’ll wonder why you didn't start sooner!
1.
Prepare Your Ingredients
Gather your rolled oats (ensure they are gluten-free if needed) and cold filtered water. The ideal ratio is typically 1 part rolled oats to 3-4 parts water. For a thicker milk, use less water; for a thinner consistency, use more. A good starting point is 1 cup of oats to 3.5 cups of water.
A note on soaking: While some recipes suggest soaking oats, we generally recommend *against* long soaks, or only a very short one (10-15 minutes in *cold* water). Soaking too long, especially in warm water, can activate enzymes that contribute to a slimy texture. For best results, use unsoaked oats or a very brief cold water soak.
2.
Blend with Precision
Combine your rolled oats and cold water in your blender. The key here is *speed* and *timing*. Blend just until the mixture is smooth – typically 30 to 60 seconds. Over-blending is the most common cause of sliminess because it over-processes the starches in the oats. Use short pulses if preferred, rather than continuous high-speed blending.
3.
Strain, Don't Squeeze!
Place your chosen straining mechanism (tea towel, nut milk bag) over a large bowl. Carefully pour the blended oat mixture into the strainer. Allow the liquid to drain naturally through the cloth into the bowl.
Crucially, resist the urge to squeeze the bag or towel! Squeezing forces excess starch and fine pulp particles through the strainer, leading directly to that undesirable slimy texture. Let gravity do the work. You can gently gather the edges of the cloth and lift it slightly, allowing the milk to drip, but do not apply pressure.
If you desire an ultra-smooth milk, you can strain it a second time through a fresh, clean cloth.
4.
Store and Enjoy
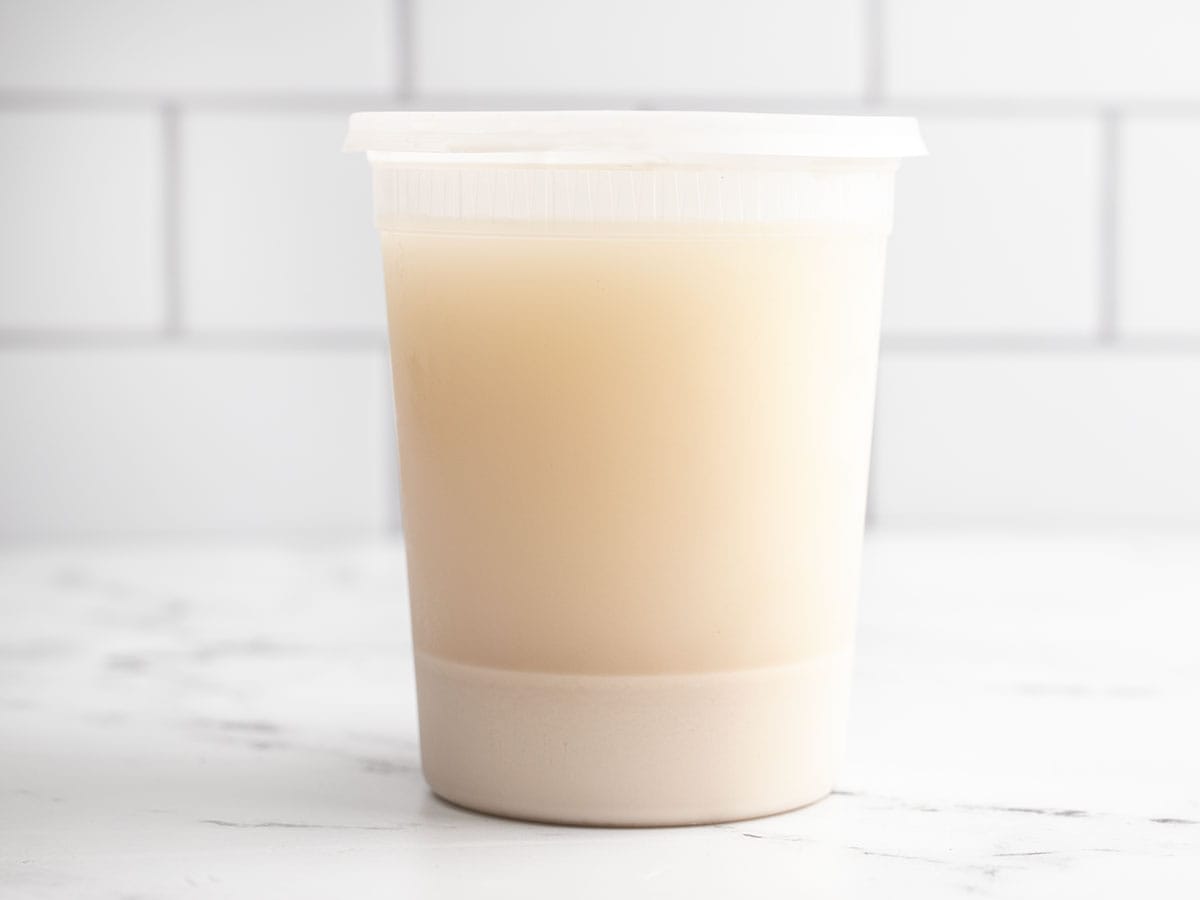
Once strained, pour your fresh homemade oat milk into an airtight storage container. A glass bottle or Mason jar works perfectly. Store it in the refrigerator, where it will last for 3-5 days. It's natural for the milk to separate in the fridge, so give it a good shake before each use.
This simple, budget-friendly approach to
Homemade Oat Milk: The Easy, Budget-Friendly Dairy Alternative will quickly become a staple in your kitchen.
Troubleshooting Common Oat Milk Issues
*
Slimy Texture: This is usually caused by over-blending, using warm water, or squeezing the pulp. Always use cold water, blend for a short duration (30-60 seconds), and never squeeze the strainer. Ensure you're using rolled oats, not quick oats.
*
Too Watery/Too Thick: Adjust your oat-to-water ratio in the next batch. More oats for thicker milk, more water for thinner.
*
Sediment at the Bottom: This is normal to some extent, but if it's excessive, your strainer might not be fine enough, or you might need to double strain the milk.
Creative Ways to Enjoy Your Homemade Oat Milk
Your freshly made oat milk is incredibly versatile!
*
Coffee & Tea: Perfect for lattes, cappuccinos, or simply a dash in your morning brew.
*
Smoothies: Adds a creamy base without overpowering other flavors.
*
Cereal & Oatmeal: A classic pairing.
*
Baking: Substitute 1:1 for dairy milk in cakes, muffins, pancakes, and more.
*
Cooking: Use in creamy soups, sauces, or mashed potatoes.
*
Desserts: A fantastic base for homemade ice cream or puddings.
Conclusion
Embracing the world of homemade oat milk is a journey towards greater control over your diet, significant cost savings, and a delightful culinary experience. Knowing
how to make oat milk opens up a world of dairy-free possibilities, allowing you to enjoy its creamy texture and mild flavor in countless ways. With just a few basic tools and simple steps, you can consistently produce a fresh, delicious, and additive-free plant-based milk that caters perfectly to your taste and dietary needs. So, grab some oats, fire up your blender, and unlock the incredible potential of DIY oat milk – your taste buds and wallet will thank you!