Mastering Homemade Oat Milk: Best Oats, Blending & Straining
Oat milk has rapidly risen to prominence as a dairy-free darling, celebrated for its naturally sweet flavor, creamy texture, and versatility. From enriching your morning coffee to transforming your favorite baked goods, this plant-based powerhouse has captured hearts worldwide. While store-bought cartons offer convenience, learning how to make oat milk at home is a game-changer. It's not only incredibly cost-effective – turning pennies' worth of oats into delicious milk – but also empowers you with control over ingredients and freshness. Forget the expensive weekly grocery run for specialty milks; your kitchen is about to become a hub for delicious, homemade goodness.
For those navigating dietary restrictions, oat milk is a blessing. Naturally free from soy, nuts, and dairy, and easily made gluten-free with certified oats, it offers a safe and satisfying alternative. While it's true that commercial oat milks are often fortified with vitamins and minerals, the homemade version stands strong on its own, providing a fresh, wholesome base for countless recipes. Ready to ditch the carton and embrace the simplicity and savings? Let's dive into mastering the art of homemade oat milk.
The Undeniable Appeal of Homemade Oat Milk
The journey to mastering homemade oat milk begins with understanding its unique advantages. Beyond the obvious health benefits for those with intolerances, the financial aspect is compelling. Imagine converting just one cup of humble rolled oats, costing mere cents, into two cups of luscious, creamy milk. This economic efficiency makes homemade oat milk an incredibly savvy choice for budget-conscious households. In fact, for many, once you start making your own, the idea of paying a premium for store-bought versions becomes a distant memory. This simple switch can lead to significant savings over time, proving that healthy, conscious eating doesn't have to break the bank. For a deeper look at the financial and health benefits, explore Homemade Oat Milk: The Easy, Budget-Friendly Dairy Alternative.
Taste and texture are also huge motivators. Homemade oat milk boasts a wonderfully creamy mouthfeel and a subtly sweet, toasty flavor that many find remarkably similar to dairy milk, often surpassing other plant-based alternatives in terms of richness. This makes it an ideal candidate for everything from lattes and smoothies to baking and cooking, seamlessly integrating into your daily routine without compromise.
Gathering Your Gear: Essential Equipment for Oat Milk Success
One of the beauties of learning how to make oat milk is the minimal equipment required. Chances are, you already have most of what you need in your kitchen. However, a few key tools will ensure a smooth, successful process:
- Blender: Any blender will get the job done, but the power behind it can make a difference. A high-speed blender, like a Vitamix or Blendtec, will create a finer pulp and a smoother milk more quickly. If you have a standard blender, simply blend in shorter bursts or for a slightly longer duration, ensuring the oats are fully pulverized.
- Strainer: This is perhaps the most critical component for achieving your desired consistency.
- Nut Milk Bags: While convenient, some find they can allow too much fine sediment to pass through, resulting in a slightly gritty texture.
- Fine-Mesh Sieve: Similar to nut milk bags, a fine-mesh sieve might not catch all the tiny oat particles, potentially leaving a less smooth finish.
- Woven Tea Towel or Clean T-Shirt: For the smoothest, pulp-free oat milk, a tightly woven cloth is your best bet. It effectively filters out the solids. The trick here is gentle handling: don't wring the cloth aggressively, as this can force starch through and lead to a slimy texture. Let gravity do most of the work, and then a very light squeeze to extract the last drops.
- Bowl: A medium-sized bowl will serve as your straining station. A bowl with a spout can make transferring the liquid to your blender and then to your storage container much easier and less messy.
- Storage Container: An airtight container is essential for keeping your homemade oat milk fresh. Glass bottles with lids or large Mason jars are excellent choices. Ensure the lid is watertight, as separation is natural, and you'll need to shake it before each use.
Choosing Your Ingredients: The Secret to Perfect Oat Milk
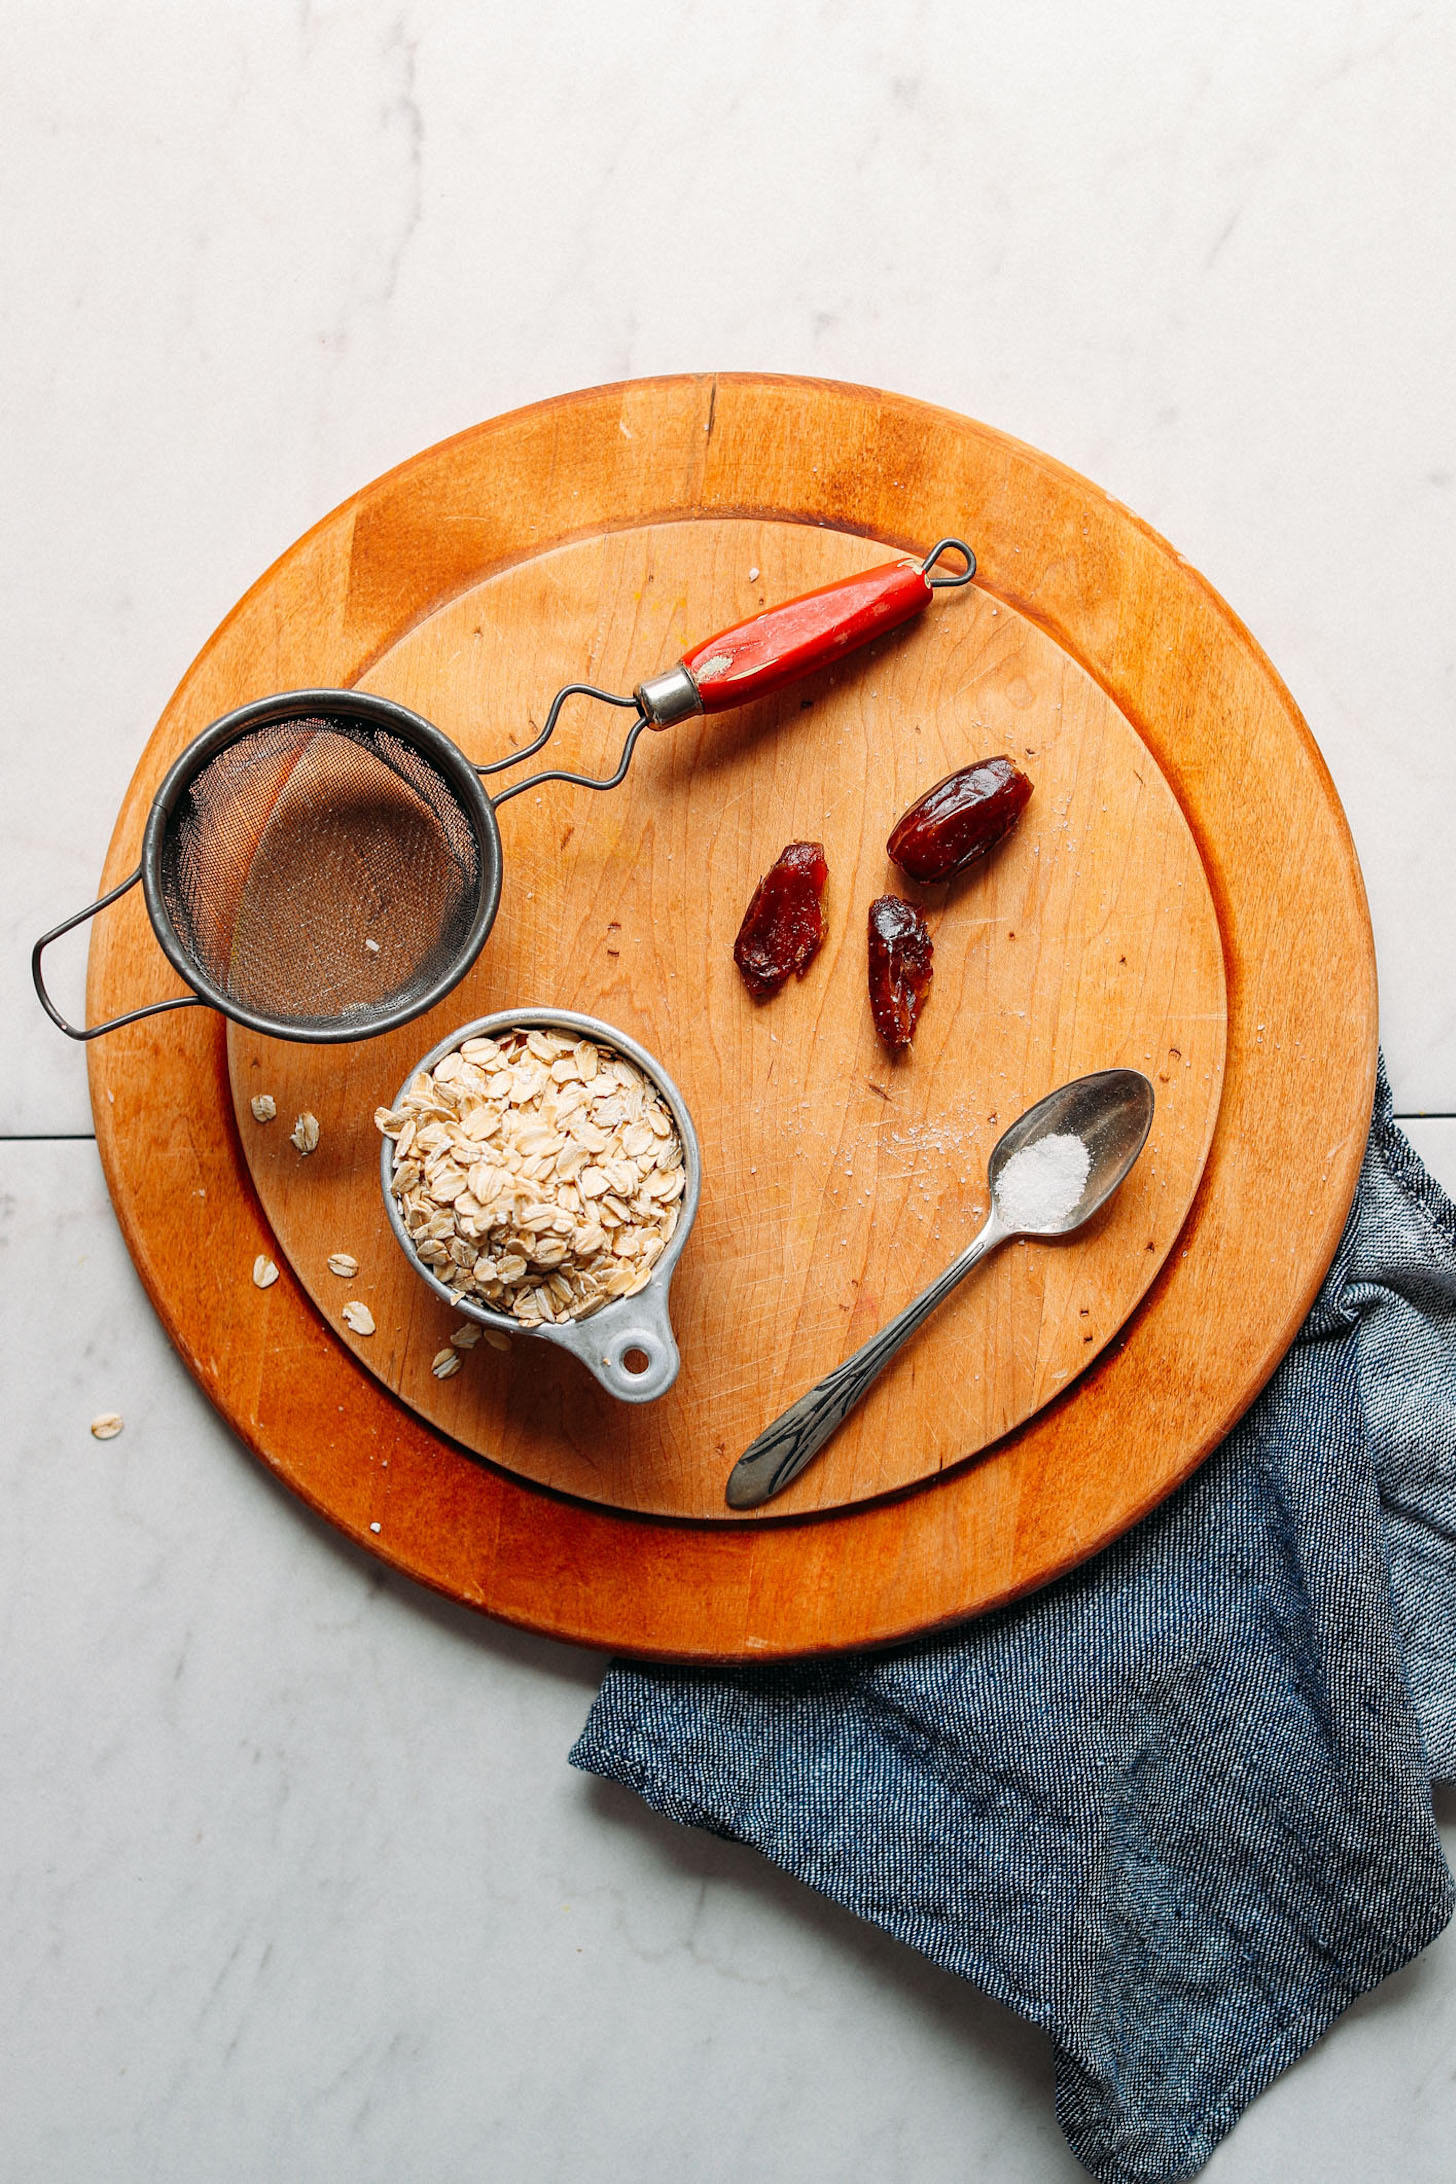
The quality and type of oats you choose are paramount to the success of your homemade oat milk. Not all oats are created equal when it comes to milk-making:
- Rolled Oats (Old-Fashioned Oats): These are your champions for homemade oat milk. They offer the perfect balance, yielding a wonderfully creamy texture without becoming slimy. Their processing allows them to blend thoroughly while retaining enough structure to prevent excessive starch release.
- Steel-Cut Oats: While wholesome, steel-cut oats are generally not recommended for oat milk. Their minimal processing means they are much harder and will result in a less creamy, often grittier, milk even after extensive blending.
- Quick Oats (Instant Oats): Avoid these! Quick oats are highly processed, pre-cooked, and finely cut, which makes them release too much starch too quickly when blended. The result is almost universally an unpleasantly slimy, gummy milk. Stick to rolled oats for the best experience.
- Gluten-Free Oats: If you're on a gluten-free diet, always opt for rolled oats specifically labeled "certified gluten-free." This ensures they haven't been cross-contaminated with wheat during processing.
Water: While tap water can work, using filtered water will significantly improve the taste of your oat milk, especially if your tap water has a strong mineral or chlorine flavor.
Optional Flavor Enhancers: One of the joys of homemade oat milk is the ability to customize it to your palate. Consider these additions:
- Sweeteners: For a natural sweetness, blend in two pitted, roughly chopped dates with your oats and water. Alternatively, stir in a teaspoon of maple syrup or a dash of agave after straining.
- Flavorings: A teaspoon of vanilla extract adds a lovely aromatic touch. For a rich chocolate milk, add a tablespoon of unsweetened cocoa powder to the blender.
- Richness: A tiny pinch of salt (seriously, just a pinch!) can surprisingly enhance the natural sweetness and richness of the milk. For a mouthfeel closer to commercial versions, a very small amount of coconut oil (e.g., ½ teaspoon) blended in can add a luxurious creaminess.
The Step-by-Step Guide: How to Make Oat Milk Like a Pro
Making homemade oat milk is incredibly straightforward. Follow these steps for perfect results every time:
- Measure Your Ingredients: The general ratio is 1 part rolled oats to 3-4 parts cold filtered water. A good starting point is 1 cup of rolled oats to 3-4 cups of water, which typically yields about 2-3 cups of milk. Adjust the water amount to achieve your desired thickness – less water for a creamier, thicker milk; more for a lighter consistency.
- To Soak or Not to Soak? This is a common question, and for oat milk, the answer is generally no, or at most, a very brief soak.
- No Soak (Recommended): Simply combine the oats and cold water directly in the blender. This method often produces the least slimy result.
- Short Soak (10-15 minutes): If you prefer, you can soak your rolled oats in cold water for a maximum of 10-15 minutes. This can soften them slightly, potentially making them easier to blend and release fewer starches. Ensure the water is *cold*. A longer soak, especially overnight, is generally discouraged as it can increase sliminess.
- Blend Briefly: This is perhaps the most crucial step. Combine your oats (soaked or unsoaked) and cold water in your blender. Blend only until smooth, typically for no more than 30-60 seconds. The key is to blend just enough to break down the oats but not so much that you over-process them. Over-blending is the primary cause of slimy oat milk, as it releases too much starch.
- Strain Gently: Place your chosen strainer (tea towel or nut milk bag) over a large bowl. Carefully pour the blended oat mixture into the strainer. Allow the liquid to drip through naturally for a minute or two. Once most of the liquid has drained, gather the edges of the cloth or bag and very gently squeeze to extract the remaining milk. Remember: do not wring aggressively! A light squeeze is all that's needed to prevent pushing starch through and creating a slimy texture.
- Flavor (Optional): If you plan to add vanilla extract, maple syrup, or a pinch of salt, stir them into the strained milk now.
- Store: Pour your fresh homemade oat milk into your airtight storage container. It will keep well in the refrigerator for 3-5 days. Separation is natural, so remember to shake well before each use.
Troubleshooting & Customization: Elevating Your Oat Milk Experience
Even with the best intentions, you might encounter a few hiccups on your journey to mastering homemade oat milk. Here’s how to troubleshoot common issues and personalize your batches:
- Slimy Milk: This is the most common complaint and almost always stems from two culprits:
- Over-blending: You're releasing too much starch. Blend for shorter periods (30-60 seconds max).
- Hot water or vigorous squeezing: Always use cold water, and strain gently.
- Using quick oats: Stick to rolled oats!
- Too Thin/Watery: Simply adjust your oat-to-water ratio in your next batch. Start with 1 cup of oats to 3 cups of water for a thicker milk.
- Sediment at the Bottom: A small amount of fine sediment is perfectly normal for homemade oat milk. It's a sign of its natural, unprocessed nature. Just give your container a good shake before pouring. If it's excessive, consider a finer-weave straining cloth next time.
Beyond Basic Flavors: Don't limit yourself to just dates or vanilla! Consider blending in a spoonful of cinnamon, a pinch of nutmeg, or even a tiny amount of pure almond extract for a marzipan-like note. You can also experiment with different sweeteners or a blend of them. For more creative ways to use your dairy-free deliciousness, check out Unlock Oat Milk's Potential: Dairy-Free, Delicious & Easy DIY.
Homemade oat milk is incredibly versatile. Use it in your morning oatmeal, blend it into smoothies, pour it over cereal, or use it as a dairy substitute in baking and cooking. Its neutral flavor and creamy texture make it an excellent alternative in almost any recipe calling for milk.
Embrace Your Inner Barista and Baker
Learning how to make oat milk at home is a rewarding endeavor that offers tangible benefits, from significant cost savings to complete control over your ingredients. It’s a simple, quick process that transforms humble rolled oats into a creamy, delicious plant-based milk that rivals, and often surpasses, its store-bought counterparts. By choosing the right oats, blending briefly with cold water, and straining gently, you’ll unlock the secret to perfect, non-slimy oat milk every time. So, gather your ingredients, fire up your blender, and prepare to elevate your culinary creations with the freshest, most personalized oat milk you’ve ever tasted. Your journey to dairy-free deliciousness starts now!
