Homemade Oat Milk: Your Easy, Budget-Friendly Dairy Alternative
In recent years, oat milk has soared in popularity, becoming a beloved plant-based milk for its creamy texture, neutral flavor, and versatility. It's an excellent choice for anyone managing dietary intolerances to soy, gluten, dairy, or nuts, or simply looking for a delicious, animal-friendly option. While store-bought oat milk is readily available, the secret to truly enjoying this dairy alternative without breaking the bank lies in learning how to make oat milk right in your own kitchen.
Crafting homemade oat milk is not only incredibly simple but also remarkably cost-effective. Imagine turning just one cup of humble rolled oats, which costs mere pennies, into two cups of luscious, creamy milk. This guide will walk you through everything you need to know, from essential equipment to perfecting your blend, proving that you might never reach for that carton of cow's milk—or even store-bought oat milk—again!
Why Make Your Own Oat Milk? Beyond the Supermarket Aisle
The allure of homemade oat milk extends far beyond just convenience. While commercially produced oat milks often come fortified with essential nutrients like calcium, potassium, and various vitamins, making your own offers distinct advantages that cater to health-conscious and budget-savvy individuals alike:
- Unbeatable Cost Savings: As mentioned, the raw ingredients for homemade oat milk are incredibly inexpensive. The cumulative savings over time can be significant, especially if oat milk is a staple in your diet.
- Ingredient Control: When you make oat milk at home, you know exactly what goes into it. There are no hidden sugars, gums, or stabilizers. You control the sweetness, the creaminess, and the purity of your beverage. This is particularly appealing for those with specific dietary needs or a preference for whole, unprocessed foods.
- Freshness You Can Taste: Homemade oat milk is typically consumed within a few days of preparation, ensuring peak freshness and flavor.
- Reduced Waste: By making your own, you're reducing the demand for single-use cartons, contributing to a more sustainable lifestyle.
- Customization: From plain and simple to subtly sweet or decadently chocolatey, homemade oat milk is a blank canvas for your culinary creativity.
Gathering Your Tools: Essential Equipment for Oat Milk Success
The beauty of making your own oat milk lies in its simplicity, requiring very little specialized equipment. Chances are, you already own most of what you need. Here's a quick rundown:
- Blender: Any blender will work, but a more powerful model like a Vitamix or Blendtec can yield a silkier consistency by blending the oats to a finer pulp more quickly. The key is efficient blending without overworking the oats.
- Strainer: This is arguably the most crucial tool for achieving a smooth, pulp-free oat milk.
- Nut Milk Bag: While designed for plant-based milks, some find that nut milk bags can sometimes let too much of the fine oat pulp pass through, resulting in a slightly grainy texture.
- Woven Tea Towel or Clean T-Shirt: Many homemade oat milk enthusiasts swear by a tightly woven tea towel or even a clean, old T-shirt. These materials tend to have a finer weave than most nut milk bags, providing a superior straining experience and a smoother end product. Just ensure they are thoroughly clean and scent-free.
- Fine-Mesh Sieve: A fine-mesh sieve can be an option, but similar to some nut milk bags, it might not catch all the fine sediment, potentially leaving a slightly gritty texture. Experiment to find what works best for your desired consistency.
- Bowl: A medium-sized bowl is essential for soaking your oats (if you choose to do so) and for the straining process. A bowl with a spout can make pouring the oat mixture into your blender much easier and less messy.
- Storage Container: Once your oat milk is made, you'll need a suitable container for storage. Glass bottles with a tight-fitting lid, Mason jars, or any clean, airtight plastic container will work. It's vital that the lid is watertight, as homemade oat milk tends to separate, requiring a good shake before each use.
The Heart of the Matter: Choosing the Right Oats and Flavor Enhancements
The type of oats you choose profoundly impacts the final texture and taste of your homemade oat milk. Not all oats are created equal when it comes to liquid gold.
- Rolled Oats (Old-Fashioned Oats): These are hands down the best choice for making oat milk. Their minimal processing yields a wonderfully creamy result without becoming overly slimy. They strike the perfect balance for texture and flavor.
- Steel-Cut Oats: While wholesome, steel-cut oats are too coarse and less processed, resulting in a less creamy, often more watery and grainy milk. They're better suited for oatmeal than milk production.
- Quick Oats (Instant Oats): These are highly processed and finely cut, which seems like it would be ideal, but they often produce an unpleasantly slimy texture when blended into milk. Avoid them for the best results.
- Gluten-Free Oats: If you're on a gluten-free diet, always ensure you purchase oats specifically labeled as "gluten-free." Oats are naturally gluten-free, but they are often processed in facilities that handle gluten-containing grains, leading to cross-contamination.
Once you've mastered the basic recipe for how to make oat milk, you can easily elevate your creation with various flavor enhancements:
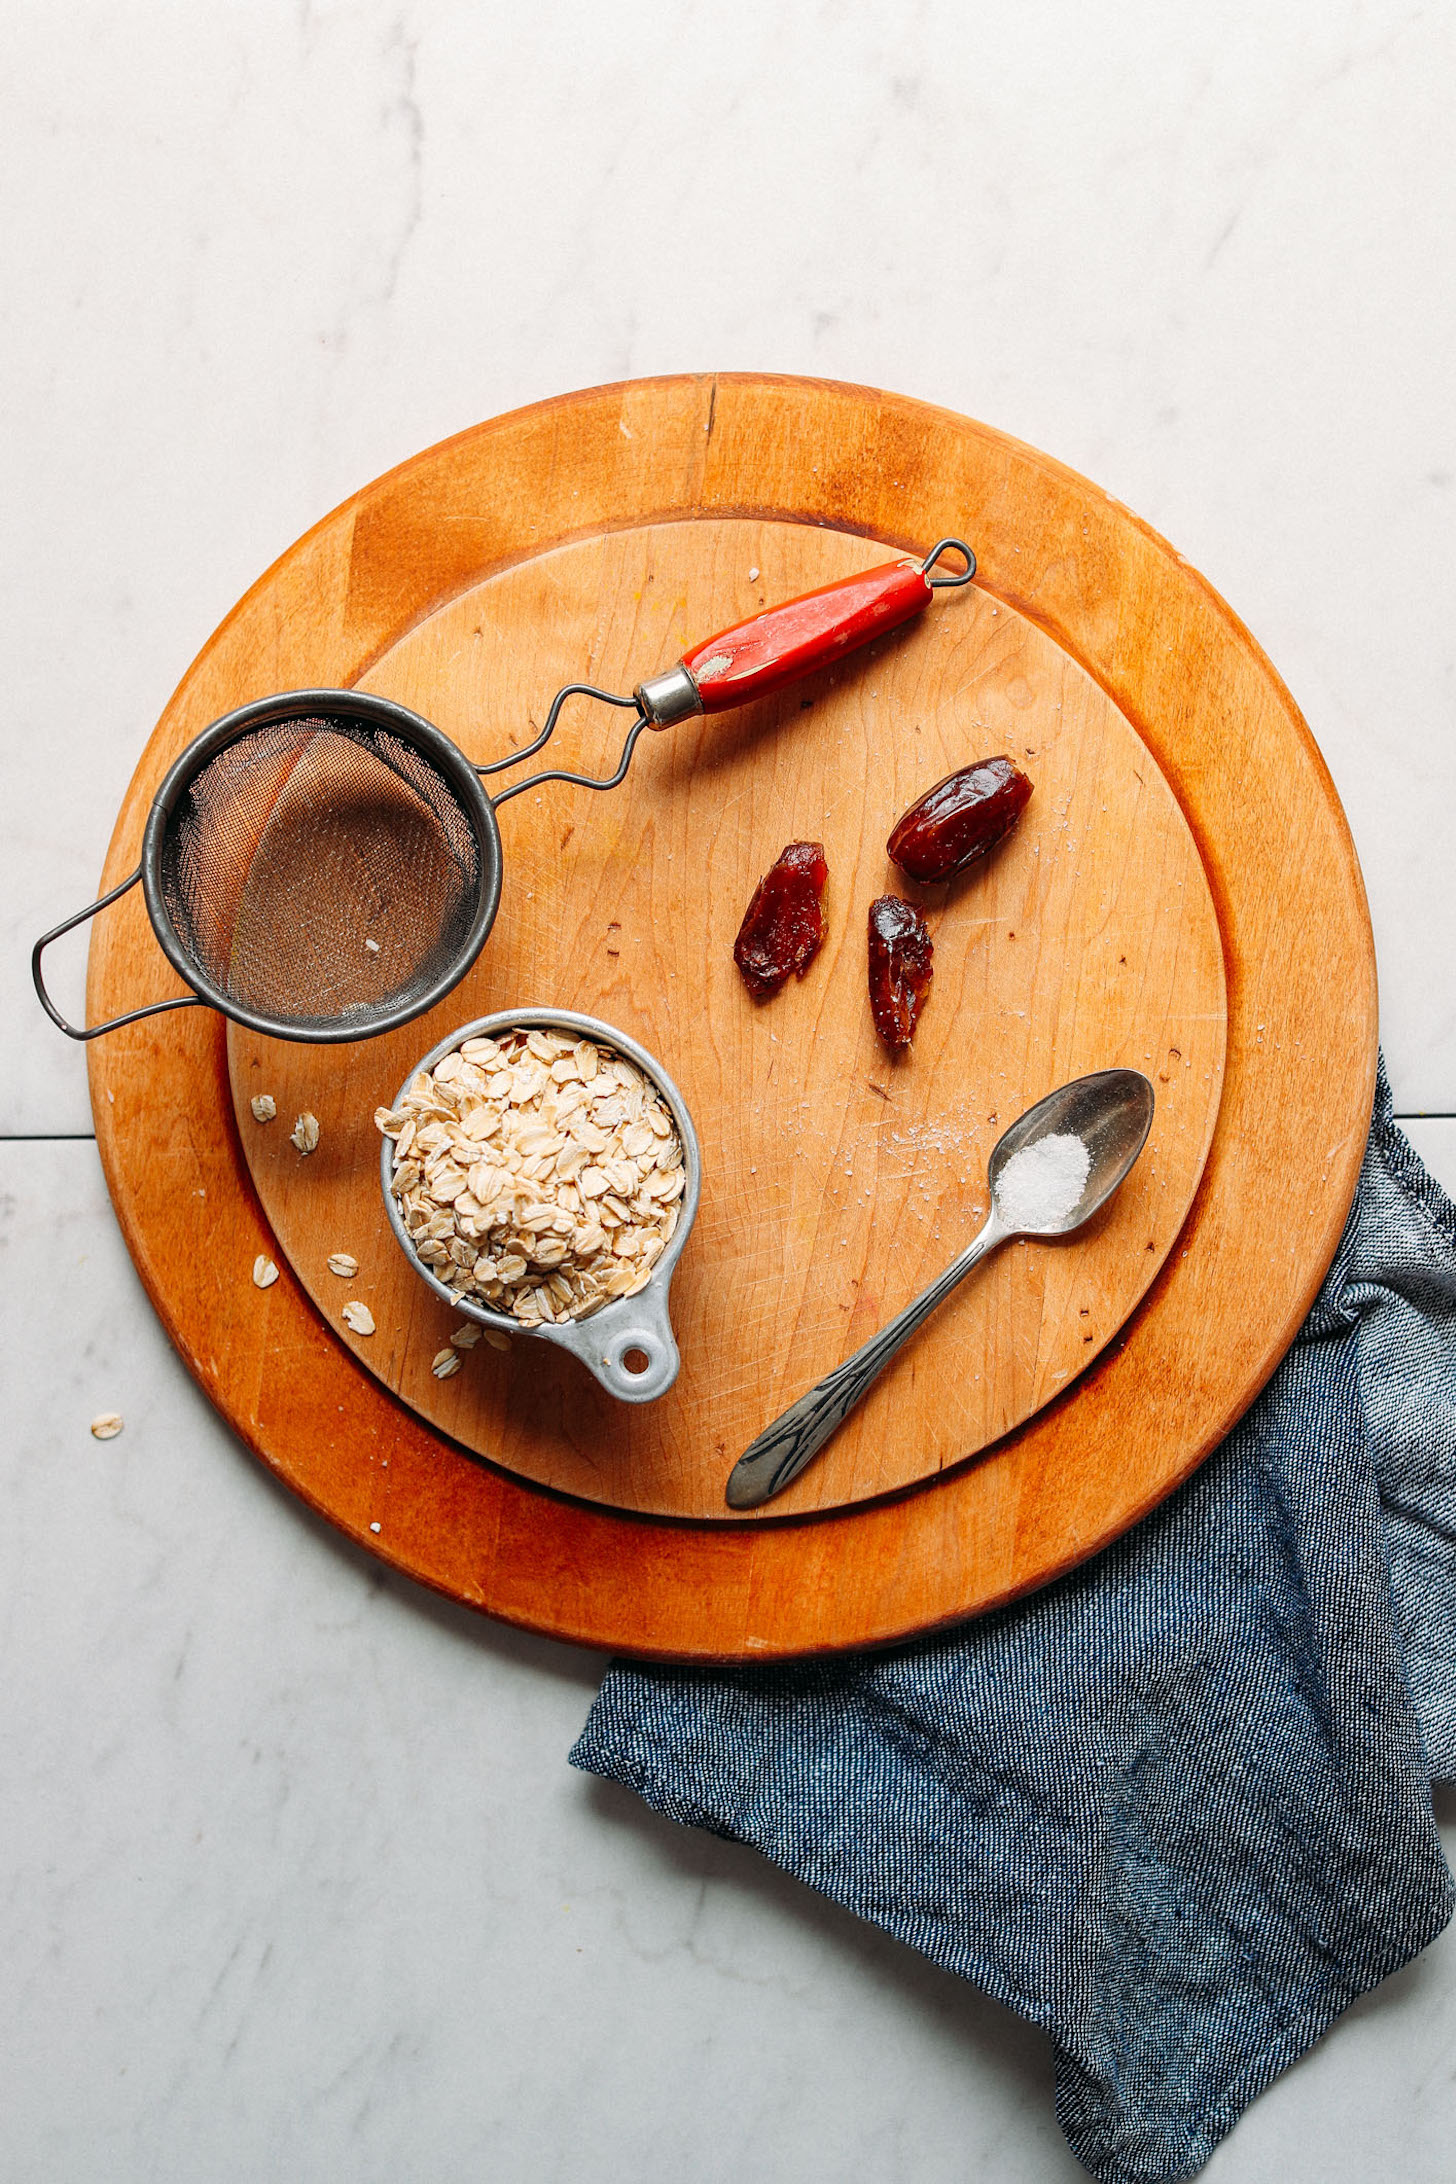
- Natural Sweeteners: For a touch of sweetness, try blending two pitted, roughly chopped dates along with your oats and water. Alternatively, stir in a teaspoon of maple syrup or agave nectar after the milk has been strained.
- Vanilla: A teaspoon of pure vanilla extract added post-straining can impart a delightful aromatic sweetness.
- Chocolate Milk: Satisfy your cravings by whisking in a tablespoon of unsweetened cocoa powder after straining. Add a touch of sweetener if desired.
- Richness Boost: For a mouthfeel closer to commercial versions, blend in a small amount (e.g., ½ to 1 teaspoon) of coconut oil with your oats. This adds a subtle richness without a strong coconut flavor.
Step-by-Step Guide: How to Make Oat Milk at Home
Learning how to make oat milk is a straightforward process that will quickly become second nature. Follow these steps for a perfect batch every time:
1. The Oats-to-Water Ratio and Soaking Debate
The standard ratio for homemade oat milk is one part rolled oats to three to four parts water. For instance, 1 cup of oats to 3-4 cups of filtered water. The amount of water depends on your desired thickness – less water for a creamier milk, more for a thinner consistency.
Now, about soaking: Many recipes suggest soaking oats for 15-30 minutes, or even overnight. Soaking can potentially aid in digestion and some believe it helps reduce the "slimy" factor. However, for oat milk, some find that prolonged soaking can actually *increase* sliminess. For a quick, non-slimy oat milk, a rapid rinse and then skipping the soak entirely often works best. If you're concerned about digestibility, a short 15-minute soak is a good compromise.
2. The Blending Process
Combine your chosen quantity of rolled oats (rinsed, and optionally soaked) with cold filtered water in your blender. The key here is speed and brevity. Blend only until the mixture is smooth, which typically takes about 30-60 seconds on a medium-high setting. Do not over-blend! Over-blending is the primary culprit behind slimy oat milk, as it breaks down the oat starches too much. A quick pulse or two is sufficient.
3. Straining for Smooth Perfection
Place your chosen straining material (tea towel, T-shirt, or nut milk bag) over a large bowl. Carefully pour the blended oat mixture into the strainer. Gather the edges of the cloth and gently squeeze the liquid out. Avoid aggressive squeezing, as this can force finer pulp through the cloth and into your milk, resulting in a grittier texture. Just a gentle squeeze is enough to extract most of the liquid. Discard the leftover oat pulp (it can be composted or even added to baked goods like muffins, though its texture is quite fine).
4. Storing Your Homemade Oat Milk
Pour your freshly strained oat milk into your airtight storage container. Store it in the refrigerator. Homemade oat milk typically lasts for 3-5 days. It's natural for the milk to separate into layers over time; simply give it a good shake before each use to recombine the ingredients. For more in-depth advice on selecting the perfect oats, mastering your blender technique, and achieving optimal straining, be sure to check out our article Mastering Homemade Oat Milk: Best Oats, Blending & Straining.
Unleashing Oat Milk's Potential: Beyond the Glass
Once you've mastered how to make oat milk, you'll discover its incredible versatility. Its neutral flavor and creamy consistency make it an exceptional substitute for dairy milk in a wide array of applications:
- Coffee and Tea: Oat milk's creaminess makes it a barista favorite for lattes and cappuccinos, often frothing beautifully.
- Smoothies: It provides a fantastic base for fruit and vegetable smoothies, adding a subtle sweetness and body without overpowering other flavors.
- Baking: Use it cup-for-cup in recipes for pancakes, waffles, muffins, cakes, and quick breads. Its texture often contributes to a wonderfully moist crumb.
- Cooking: Incorporate it into savory dishes like creamy soups, mashed potatoes, or even mac and cheese for a dairy-free twist.
- Ice Cream: Its creamy nature lends itself well to homemade dairy-free ice cream and other frozen desserts.
To explore even more creative ways to incorporate this delightful dairy alternative into your daily routine, dive into our article Unlock Oat Milk's Potential: Dairy-Free, Delicious & Easy DIY.
Troubleshooting Common Oat Milk Issues
Even with simple recipes, a few hiccups can occur. Here’s how to address them:
- Slimy Texture: This is the most common complaint and almost always due to over-blending or using quick oats. Remember: blend quickly (30-60 seconds max) and use rolled oats. Also, using cold water can help minimize sliminess.
- Gritty/Pulpy Milk: This means your straining method wasn't fine enough. Try switching from a nut milk bag to a tightly woven tea towel or T-shirt for better filtration. Avoid over-squeezing the pulp.
- Separation: Completely normal! Homemade oat milk lacks the emulsifiers found in commercial versions. A quick shake before pouring will solve this.
- Short Shelf Life: Homemade oat milk typically lasts 3-5 days. Ensure all your equipment is clean and use filtered, cold water. Store in an airtight container in the coldest part of your fridge.
Embrace the Homemade Revolution
Making your own oat milk is a rewarding culinary adventure that puts you in control of your ingredients, saves you money, and delivers a fresh, delicious product perfectly tailored to your taste. With just a few basic tools and a commitment to quality ingredients, you’ll quickly master how to make oat milk and unlock a world of creamy, plant-based possibilities. So, gather your oats, fire up your blender, and get ready to enjoy the superior taste and satisfaction of homemade goodness!
